How to Remove Rust from Car: DIY Expert Guide That Works
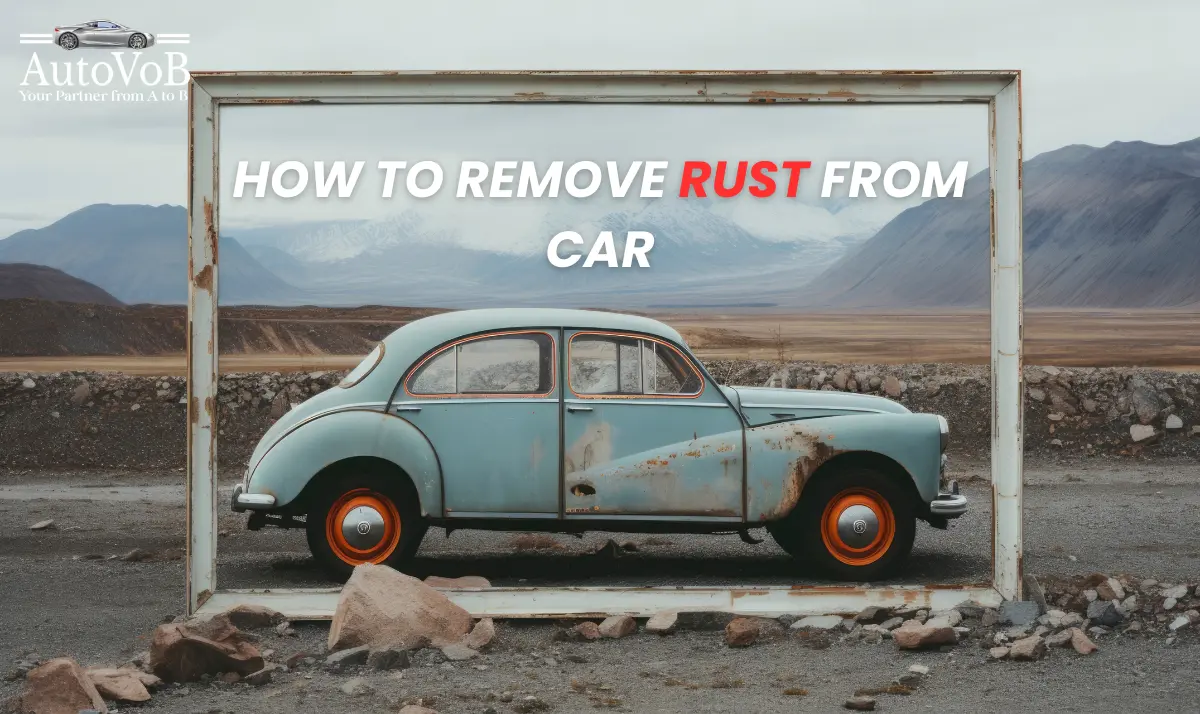
Rust might look harmless at first, a little orange speck here or there, but it’s more damaging than it seems. Left untreated, it eats through metal, weakens panels, and drastically drops your car’s resale value. Learning how to remove rust from car surfaces isn’t just about looks, it’s about saving your vehicle from long-term damage. Here’s a detailed, expert-backed process to help you do it right.
Understanding What Rust Really Is
Rust is the result of iron and oxygen reacting with moisture. When exposed metal on your car combines with air and water, oxidation begins. Coastal regions or humid environments accelerate this process, but even stone chips on a dry highway can start it. Once it begins, rust spreads under paint like cancer. The key is catching it early and treating it properly.
Identify the Type and Extent of Rust
Before jumping into how to fix rust on a car, figure out what kind you’re dealing with. There are generally three categories:
- Surface rust: A light layer on top of paint or exposed metal. Easy to fix with sanding and touch-up.
- Scale rust: This has eaten through more layers, leaving flaky, rough metal beneath.
- Penetrating rust: The most serious form, where holes may appear. This level often requires professional help or patch panels.
For do-it-yourself fixes, focus on surface and mild scale rust. Once it’s advanced past that, you’re into welding territory.
Step 1: Prepare the Area
Cleanliness matters here. Wash the car and dry it completely, then isolate the affected area using masking tape and newspaper. This prevents accidental damage to paint you want to keep intact. Make sure to clean the area with soap and water to remove oil, dirt, and residue before sanding. It helps the products adhere properly.
Step 2: Remove Rust and Loose Paint
Here’s where the real work begins. You’ll need:
- 80-grit sandpaper or a wire brush to remove most of the rust
- 220 and 400-grit sandpaper to smooth the area
- Rust removal wheel (optional for faster work)
Start by sanding away all visible rust and any surrounding paint that’s starting to bubble. This ensures that hidden corrosion doesn’t spread later. The goal is to reach bare, shiny metal. Work carefully but thoroughly, as missing even a tiny patch allows the rust to return.
If rust is deeper but still manageable, a grinder with a coarse disc can speed up the job. Use light pressure to avoid gouging the surrounding surface.
Step 3: Use Rust Converter or Remover
When sanding can’t reach every crevice, a rust converter steps in. These chemicals react with iron oxide (rust) and turn it into a stable compound that can be painted over. Apply it evenly using a brush, wait as directed by the product instructions, and let it dry completely. This is your insurance step, it locks corrosion in place so it doesn’t sneak back later.
If you prefer a more mechanical approach, WD-40 Multi-Use Product works well for lighter jobs. Spray it on the rusted sections, wait about 10 minutes, then scrub with a scouring pad. Rinse and dry thoroughly afterward.
Step 4: Apply Primer
Now that you’ve neutralized the rust, seal the bare metal with a rust-inhibiting primer. Epoxy or self-etching primers are ideal choices because they bond directly to metal and block moisture. Spray thin, even coats, letting each one dry completely before applying the next. Two to three coats typically offer strong protection.
Once primed, lightly sand the surface with 400-grit paper to smooth out imperfections and prepare it for paint. This step ensures the topcoat adheres evenly.
Step 5: Paint and Clear Coat
Match the paint color with your vehicle’s code (usually found on the door jamb or under the hood). Apply thin coats, letting each layer dry before adding another. Rushing the process creates drips or uneven surfaces. Three light coats usually do the job. Once fully dry, finish with a clear coat for protection and shine.
Allow the final layer to cure for a full day before waxing. This gives the paint time to harden completely, ensuring a smooth and durable finish.
Step 6: Polish and Protect
After the paint cures, polish the repaired area with a clean microfiber cloth. If you want an even finish, gently buff it with polishing compound before applying wax. The wax adds a protective layer, shielding the paint from UV rays and water, both of which can reignite the rust process if ignored.
Step 7: Maintain and Prevent Rust
Learning how to remove rust from car surfaces is just part of the story. Prevention is the real win. Here’s how you keep it from coming back:
- Wash regularly: Road salt and grime speed up oxidation, especially in coastal or winter climates.
- Dry thoroughly: After washing or heavy rain, dry areas like wheel arches, door bottoms, and undercarriage.
- Apply wax every few months: It creates a barrier between metal and moisture.
- Inspect often: Look at door sills, trunk edges, wheel wells, and under the car for early signs of rust.
- Touch up chips immediately: Any exposed metal is an invitation for corrosion.
Pro Tips from Car Experts on How to remove rust from car
- Don’t mix different rust treatments on the same area; pick one and follow the manufacturer’s directions.
- Avoid painting in humidity or direct sun, both interfere with proper drying.
- Always wear gloves and goggles while sanding and priming.
- If you find structural rust (holes or deep pitting), get a professional body shop involved.
When DIY Isn’t Enough
There’s a point when knowing how to fix rust on a car isn’t enough. If the corrosion has eaten through metal, it’s not a surface issue anymore. You’ll likely need patch panels or welding. Structural rust, especially near suspension mounts or frame sections, compromises safety and should never be ignored.
Also Read: How to Do a Proper Brakes Inspection in Cars
Final Thoughts
Here’s the thing, rust doesn’t have to spell the end for your car. With the right approach, tools, and patience, you can stop it from spreading and even restore the affected area to near-new condition. The process might take a few hours, but it’s worth it. Not only do you save money and extend your vehicle’s lifespan, but you also gain the satisfaction of doing the job properly.
Knowing how to remove rust from car panels, doors, or bumpers gives you control. Instead of letting time and moisture ruin your investment, a few well-placed steps and smart choices keep your car solid, safe, and looking sharp.